

I have a new obsession hobby, hand embroidering. You know I am a sucker for anything retro, and this lost art makes me think of times gone by. It all started with a little pin on my Summer "to-do" board. I have made this summer with my girls (the girls I keep during the summer) very focused on teaching them about all the random things I love. We are 3 very artsy-crafty girls.
So the younger girl (8) and I were looking at my Pinterest board, and she said she would like to learn to hand embroider, and since I knew nothing about it, we googled some instructions, gave it a try, and it was love at first stitch!
Our first project was the kitten (above) on a pillowcase. The 8 year old completed this whole kitten by HERSELF on our first day!
SO YOU WILL NEED:

Find yourself an adorable pattern to motivate you by googling "vintage embroidery pattern" or visit French-Knots.
(other pattern via doe-c-doe )

Scissors - magical [Mark-B-Gone] pen - embroidery hoop (any color will do) - needle with a BIG eye [chenille needle*] - embroidery thread/floss or regular thread (in lots of happy colors) - fabric (sheets, cotton quilting fabric, and flannel have all worked well for me so far.)

*this is a chenille needle (found on the embroidery/cross stitch aisle), it makes threading embroidery thread easier.

You can buy fancy iron-on transfer patterns, but they cost big bucks, and you can only iron them on once - but I won't judge you if you want to try those. But I printed out my pattern (re-traced with sharpie if it wasn't dark,) then pinned it under the fabric, and I used my magic pen to trace the lines. If you are having trouble seeing through the fabric, you can ask your lovely assistant to hold it up against a window for you (during the day of course.)
It's time to pick your first thread color and thread your needle. There are 2 ways to thread your needle. Each will look the same, so it is totally just a preference.

Option 2 uses three thread strands tied together at the ends so the needle is in the middle of the big loop. You can use half of a piece of embroidery thread (see below) OR just three pieces of regular thread cut to the same length.

You should be able to separate the 6 thread strands that make up one piece of embroidery floss. They twist together, so be careful not to tangle them when you are separating them. You should be able to pull 1,2,&3 away from 4,5,&6 while keeping each group of threads connected.
WOO HOO - now that your needle is threaded (honestly the hardest part), you are ready to begin embroidering!! We will be using the back stitch which creates a straight, connected line.

1. Start in a corner of the beginning of a line. Your first stitch will be 1 stitch width from the end.

Insert your needle from the bottom, where you would like the end of your first stitch to be. Pull your thread through, locking your knot under the fabric.
2. Traveling backwards, push your needle through the starting point of your line to the back of the fabric.
3. Pull tight but don't pucker the fabric. ! Affirm yourself because you have just proven YOU CAN DO THIS!!

5. Your stitches will now begin connecting by putting needle through the first stitch. Push your needle through the hole created by the end of your first stitch.
6. Pull Tight!


Here is the A-DOE-RABLE deer I finished this morning!
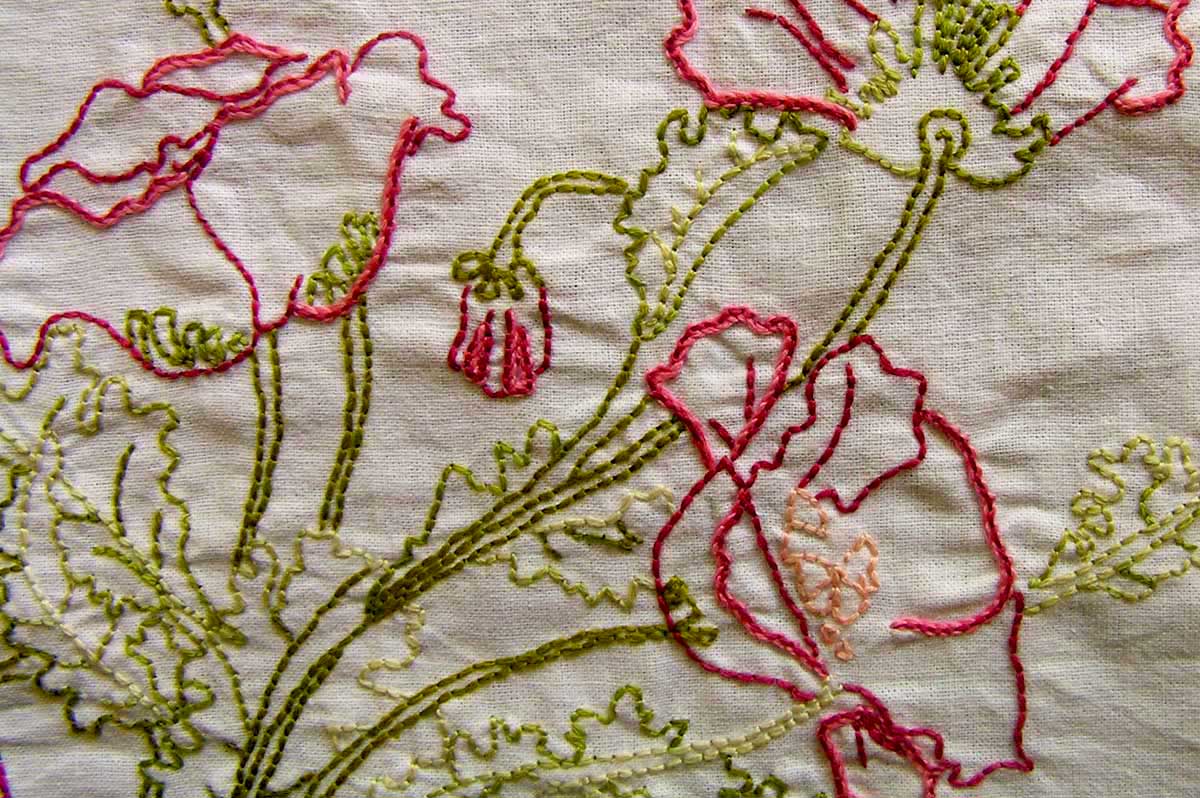
If kitschy animals aren't your thing... here are some other examples of what you could use hand embroidery to do.
 |
| (via) |
 |
(via)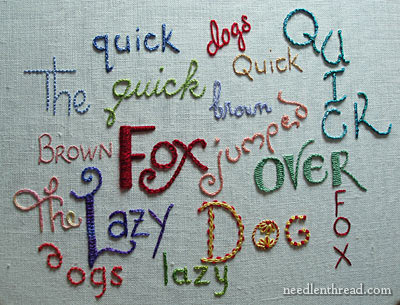 (via) |

